Crafting Concrete Candle Jars: A DIY Guide
 Jun 01,2024

 Adding Green
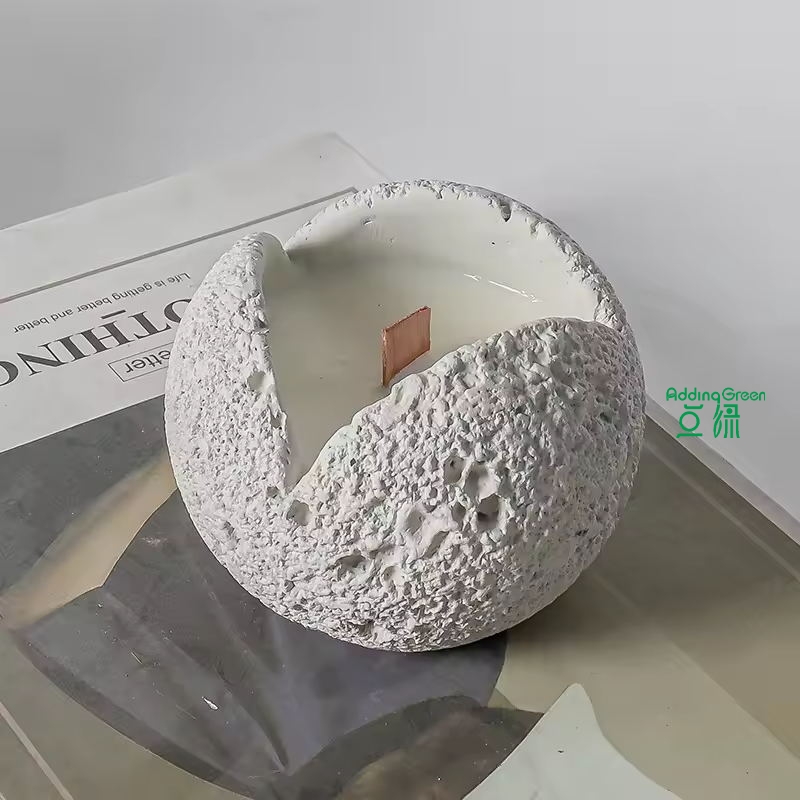
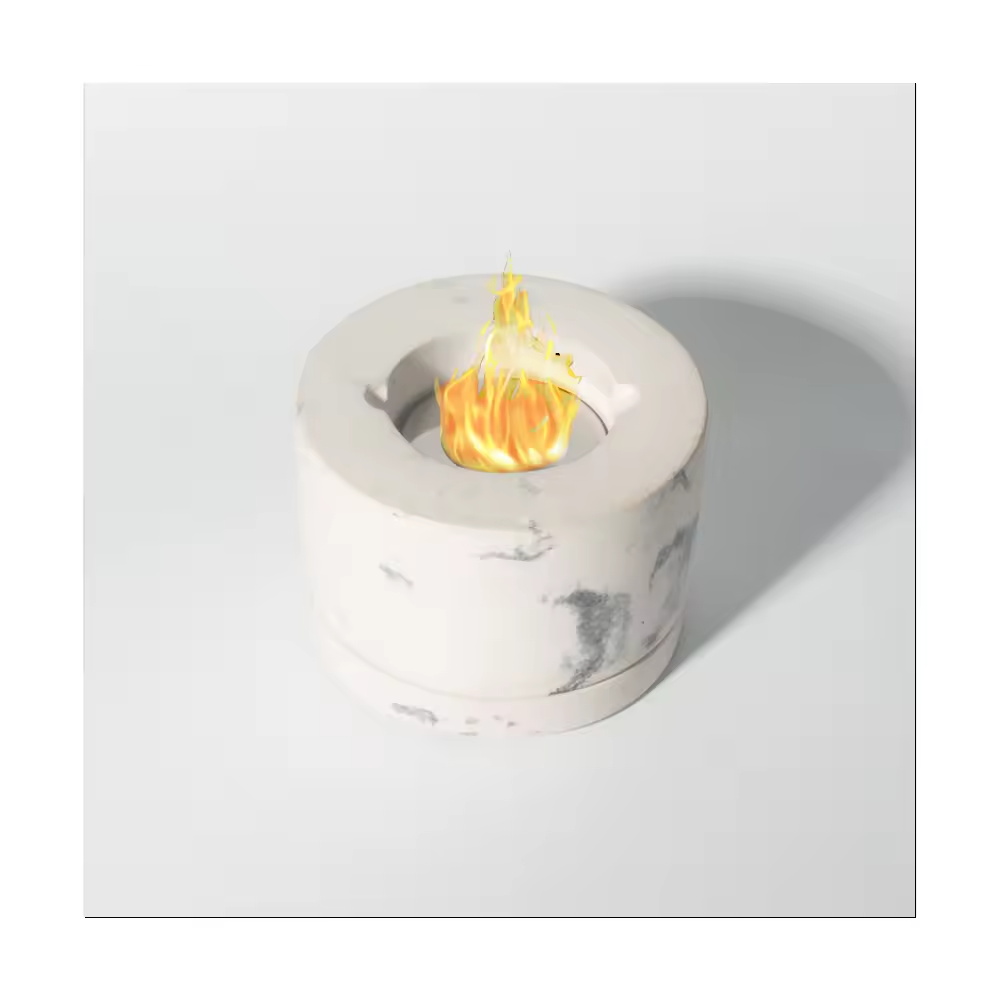
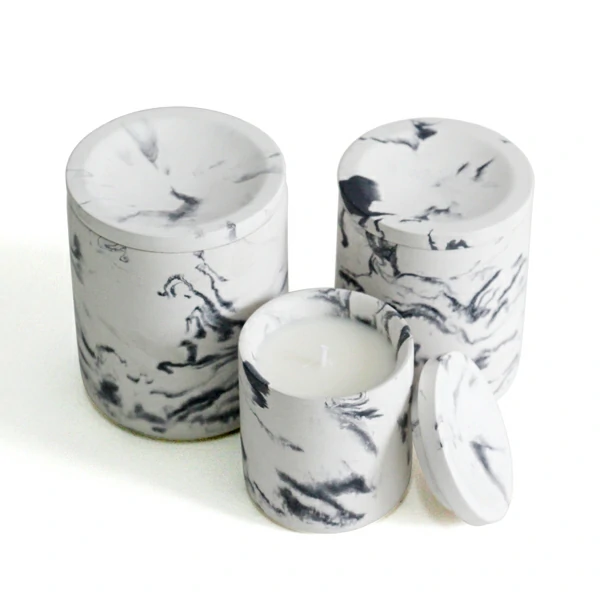
Concrete candle jars are not only stylish and durable but also surprisingly easy to make at home. This DIY project allows you to create custom candle holders that reflect your personal style while adding a handmade touch to your décor. Here’s a step-by-step guide to crafting your own concrete candle jars.
Materials Needed:
- Quick-setting concrete mix
- Water
- Mixing container and stirring stick
- Mold for the candle jar (silicone molds work well)
- Smaller mold for the candle space (like a plastic cup)
- Sandpaper (optional, for smoothing)
- Paint or sealant (optional, for finishing touches)
- Candle wax and wick (for the candle itself)
Instructions
1,Prepare Your Workspace:
Start by covering your workspace with newspaper or plastic to protect it from spills. Gather all your materials within easy reach.,2,Mix the Concrete:
Follow the instructions on your concrete mix package. Typically, you’ll need to mix the concrete with water until it reaches a thick, pudding-like consistency. Stir thoroughly to avoid lumps.
2,Pour the Concrete:
Pour the mixed concrete into your mold until it’s about halfway full. Tap the mold gently on the table to remove any air bubbles, which can weaken the structure.
3,Insert the Inner Mold:
Place the smaller mold (such as a plastic cup) into the center of the concrete-filled mold. This creates the cavity for the candle. Ensure it is centered and press down until it reaches the desired depth. Use a weight to keep it in place if necessary.
4,Let It Set:
Allow the concrete to cure according to the manufacturer’s instructions, usually around 24-48 hours. Once set, carefully remove the inner mold first, then the outer mold.
5,Smooth the Surface:
If desired, use sandpaper to smooth any rough edges or surfaces. This step is optional but can give your candle jar a more polished look.
6,Finish the Jar:
At this stage, you can paint or seal your concrete candle jar. Acrylic paints or concrete sealers work well and can add a splash of color or a protective layer to your jar.
7,Prepare the Candle:
Melt your candle wax in a double boiler. While the wax melts, attach the wick to the bottom of the concrete jar using a bit of melted wax. Once the wax is fully melted, carefully pour it into the concrete jar around the wick. Allow the wax to set completely.
8,Trim the Wick:
Once the wax has hardened, trim the wick to about 1/4 inch above the wax surface. Your concrete candle jar is now ready to use!
Crafting concrete candle jars is a rewarding DIY project that combines creativity and functionality. Each jar you create can be uniquely designed to match your home’s décor or serve as a personalized gift. Enjoy the process of making these stylish and durable candle holders, and relish the ambiance they bring to your living space.





 CN
CN
 HOME
HOME The Allure of High-Quality Concrete Tabletop Wine Barrels
  You May Also Like


 Tel
Tel
 Email
Email
 Address


